Showing posts with label crafts. Show all posts

Friday, November 12, 2010

How to make amazing Baby Leg Warmers!

Baby leg warmers are one of the top selling items on ETSY. They sell for around $10.00 a set. These are a very cool baby accessory, they allow baby's legs to stay warm but give you the ease of a quick diaper change with only having to deal with a onesie. These leg warmers are crazy cute, inexpensive and easy to make. Despite the look on Auden's face, he enjoyed his Halloween pair. There are so many cute knee socks out, that you could make these for any holiday or outfit!
My Lil' friend with bat argyle leg warmers!

So here's how you can whip up a pair of your own!

cut into "long piece", heel, toe, "bottom piece"

make cuff

adding cuff to long piece


I stretched the cuff over the sewing machine arm

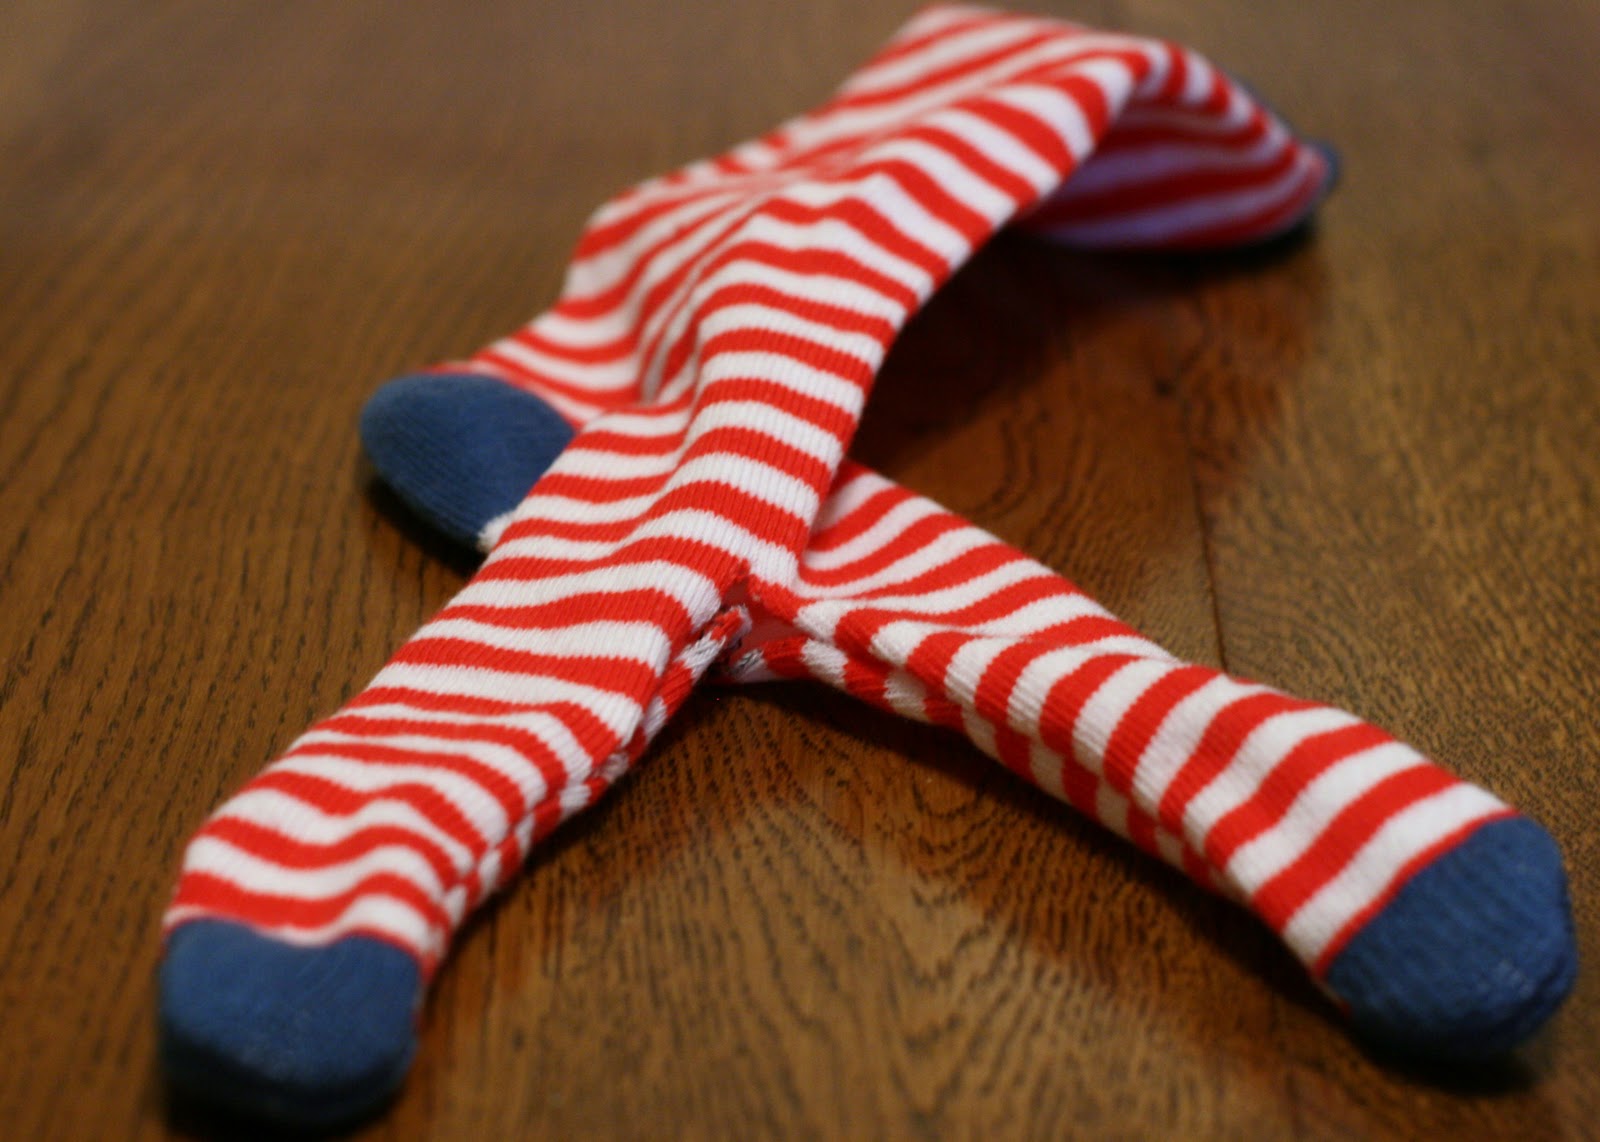
1. lay the sock out, cut the "long part" off, then cut the heel off and the toe of the remaining piece. Throw the heel and toes piece away. This becomes. "the bottom piece"

2. Take the piece and fold it in half. It makes a cuff and this the part that goes up on baby's thighs.
3. Add the cuff to the long piece. Tuck the cuff into the long piece right sides together.
4. Sew the cuff to the long piece. I was able to stretch my sock over the arm of my machine.
5. Turn the socks right side out and your baby is really to sport some seriously cute leg warmers!

I am linking up to the following parties
http://romantichome.blogspot.com/


Monday, November 8, 2010

Crafty Cricut Fun: Making Lettered Signs

My amazing boyfriend Josh bought me a Cricut cutter for my birthday. It was a total shock! It was like getting a bike for Christmas when you're little. You're the best Josh!!!

I have enjoyed playing with it and trying to figure out everything that it does. Our fun friends Jon and Sarah are getting married this spring at the Outerbanks in NC. I decided to make them  a sign with their last name on it. They are big Hokie fans so I used the cutest maroon, orange and polka dot paper.


I cut out the letters using the Keystone cartridge
 
I used Elmer's glue and a older paint brush to lightly brush on some glue to the backs


I arranged the letters on a $ Tree platter that I spray painted black.


I am going to seal this before I give it to them but I think it turned out pretty cute!


My sister Emily is getting married next month. She was going to order some vinyl letters to make a family name sign. She's going to use the sign as part of her wedding decor on one of the larger tables. Good idea! She emailed me this picture to use as a guide. I am not sure whose ETSY store this came from. Let me know if you do!

I think that I did a pretty good job with the limited amount of fonts I have!


I used a patterned paper for the last name. Josh looked at it and thought it was too busy. I love him and respect him but I am not sure if he's right but I am also not  too sure that he's wrong. I am sending these pictures to Bride to have her decide. She can always use the letters for another project. What do you think? Straight up black and white? She's going to modge podge the letters on to a painted blue background.


Parties I am linking up to:
Today's Creative Blog

http://allthingzrelated.blogspot.com/


Thursday, October 21, 2010

Sock Monkey! That Funky Monkey!

I learned a lot writing this post! I originally wanted to embed a video of Beastie Boys "Brass Monkey". All of the videos that I could find were labeled as explicit or were just plain weird. I had no idea it was a "bad" song. I also didn't know what a brass monkey was. It turns out that it's an alcoholic beverage.

Here is the recipe for Brass Monkey:
1 part Orange Juice
3 parts Olde English Malt Liquor
Mix together in an empty Big Gulp cup as all of the ingredients may be purchased and probably are purchased from 7-11.
So I don't have a really fun video to play but I do have this cute monkey picture

Photo credit: http://lalasworld-.blogspot.com/
As the title promises, this is a tutorial for how to make sock monkeys. This are truly funky sock monkeys. This fall Holly and I saw some sock monkeys made from Virginia Tech socks. They were so cute but so $$$. So last week Holly and I got together to make some sock monkeys out of some patterned socks.
If you would like to craft along you will need the following materials:
One pair of  tube socks with a colored toe and heel
             Cotton batting for stuffing
             Ribbon (optional)
             Fabric pen or a marker
             Needle and thread
Scissors
Ruler
2 Buttons or 2 ½” googly eyes
Embroidery thread
Sewing machine
Fabric glue (optional)

Instructions:
Note: These are really fun to make but they are tricky to figure out. This is a good picture to look at to figure out what I am talking about!


            Tail1. Turn the second sock inside out.2. Lay the sock on its side so the heel and toe are parallel to your stomach. 3. Cut the colored toe off. This will be used as the monkey's hat or will be leftover scrap if you choose not to use the hat.4. Mark a line from the opening at the ankle to the opening at the toe that is 1" from the top of the sock all the way from one opening to the other.5. Make another line with a 1/4" seam allowance below the line from step 12, but this time make it from the opening at the ankle to just above the colored heel.6. Sew a seam down the line curving at one end like you did with the legs.7. Cut between the two seams.8. Turn the tail right side out.9. Fill it full of stuffing.10. Whip stitch the tail onto sock one just above the colored heel. 
Arms1. Cut the remaining part of the sock off just above the heel. 2. Draw a vertical line all the way down the center of this piece.3. Stitch two seams 1/4" in from each side of the vertical line curving them to the edge at one end to make hands. 4. Cut between the seams. 5. Turn them right side out.6. Fill with stuffing. 7. Whip stitch the arms onto sock one. 
Head1. Wrap embroidery thread around the first sock just above the arms to make a neck. 2. Cut the colored heel off of sock two.3. Whip stitch the heel 3/4 of the way to the face of sock one turning the edges in. 4. Fill with stuffing.5. Whip stitch closed. 6. Sew on button eyes or use fabric glue to attach googly eyes. 7. Using what is left from the foot of sock two cut out four half circles, these will be the ears.8. Sew two of the half circles together inside out most of the way. 9. Fill with stuffing.10. Sew the rest of the way up11. Repeat steps 8-10 from this section for the remaining two half circles.12. Whip stitch the ears to your sock monkey.  
Optional Steps:1. Use embroidery thread to sew a mouth onto your sock monkey.2. Take the toe that you cut off of the second sock for a hat. Turn up the outer edges to create a brim.

And we're sewing!

We drew a line with a marker so we could see how far we needed to sew up.

Sewn together monkey legs

Babies love stuffed socks!

I have a bad caption for this but I will refrain! Stuffing the monkey.

Tail waiting to be whip stitched on!


Arms

After sewing on the arms and making a neck by gagging the poor monkey.

Sewing on the heel for a little mouth

Heart eyes and a bow for the little Frenchie Monkey. Holly made this one.

Monkey Love! I made the yellow one. I stitched on a little smile and eyes. So it would be more baby friendly.


My little monkey friend.


 As always, when you see good pictures on my blog, they were taken by Holly. We had an fun time making these. I am sort of thinking about making some Halloween monkeys from the cute knee socks Walmart is selling 2 for $5.00.


If you want to take it one step further, check out these cool websites for how to make or buy more sock friends.

The Original Rockford Red Heel Sock Elephant:
http://lennytaylor.freeyellow.com/elephant.htm

Friends of Soctopus:
   http://www.friendsofsocktopus.com/
      
Super Sockmonkey:
http://www.supersockmonkey.com/
      

Parties I am linking up with:


giveaways


Sumo Sweet Stuff